This tutorial, on how to upload images to a WordPress blog, has one prerequisite. That is that you must have a folder named Upload in your wp-content folder and it must have write permissions (777) set. Once that’s done, lets move on.
Step 1: Login to the admin area of your WordPress blog.
Step 2: Click on the Write Post tab to create a new post.
Usually, I write (and save) my post before adding images, but that’s up to you.
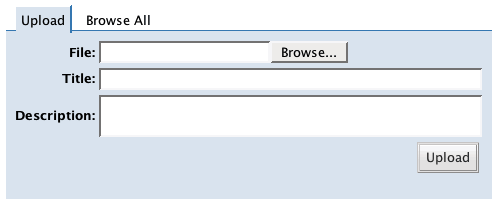
Step 3: Scroll down until you see the Upload area.

Step 4: Click the Browse… button and it will allow you to find the image you want to use on your hard drive. Once you’ve found it, enter in a title and hit upload. Description is optional.
Once it’s been uploaded you’ll then see a Browse tab with the image you just uploaded in it.
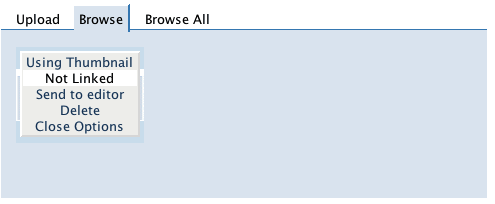
Step 5: Click on the image to get the image options.

Options Overview:
‘Using Thumbnail’ means that when sent to the editor, it’ll be a small version of the image in the post. Click on that link and it’ll switch to ‘Using Original’. That means that when you send it to the editor, it’ll use the original size of the image.
‘Not Linked’ means that the image will show and not link to anywhere. Click on it and it’ll switch to ‘Linked to Image’ which means that when the image in inserted into the post, it’ll link out to the original image. Use this if you are using a thumbnail above.
‘Send to editor’ will do just that. It’ll insert the image wherever your cursor is in the post box above.
‘Delete’ will delete your image. However a warning will appear first.
‘Close Options’ will make the options menu go away.
Step 6: Send the image to the editor.
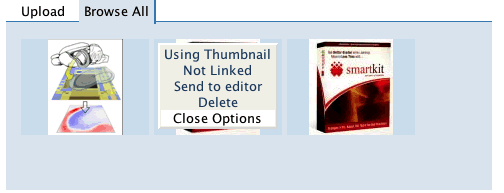
If you ever want to re-use an image, click the Browse All tab and you’ll see images you’ve uploaded in the past. Click on them and you’ll get the options above.

That’s it. Adding images to jazz up your blog posts is not to difficult, but the impact it can have on your readers can be huge. Remember, someone once said “A picture is worth a 1000 words”.


