These days, it’s no secret that high-quality images are important for any marketing strategy, particularly when it comes to social media. Images not only help brands stand out in busy social news feeds, but they also boost engagement and build brand awareness—and their importance is growing.
According to a WebDAM infographic, 84% of all communication will be visual by 2018. So, there’s no better time than the present to ensure you’re creating and sharing top-notch imagery. And that starts with following sizing best practices for each channel.
To help you do just that, below is a quick cheat sheet for sizing your images for optimal impact, complete with dimensions and some examples. In addition, you’ll also find some helpful tools that can help your resize, edit or create images.
Sizing Best Practices
Since each network has different features and layouts, each has its own sizing best practices.
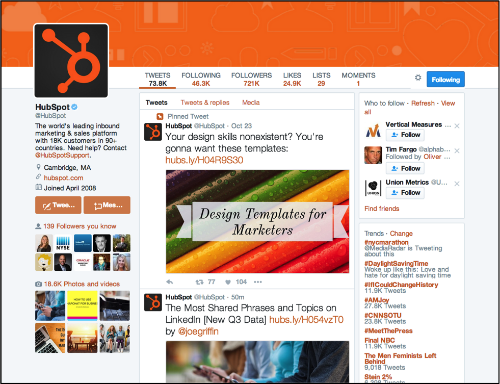
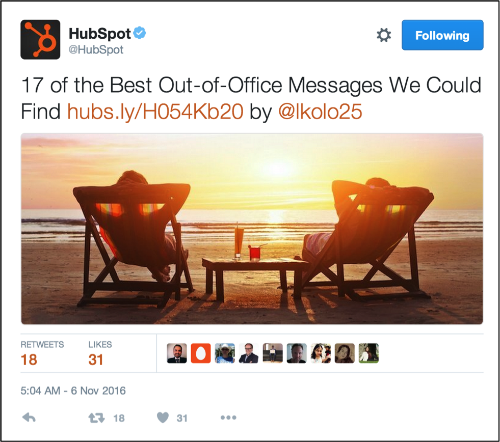
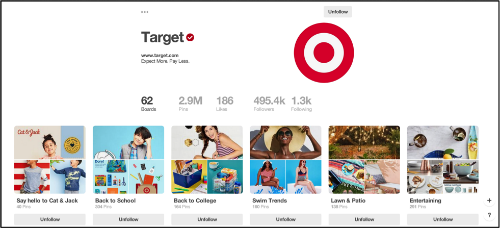
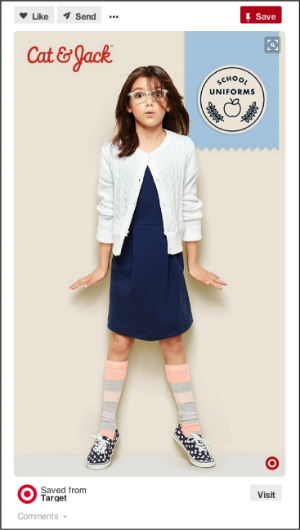
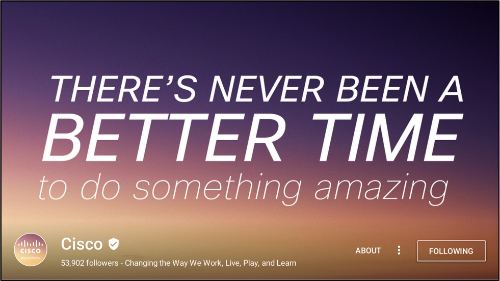
Follow these sizing guidelines to ensure that any images you share aren’t cut off or distorted when they display, your profile and cover photos make your page look top-notch. We’ve also included some examples of brands doing it right.
Profile photo: 180 x 180
Cover photo: 828 x 315
Shared image or link: 1,200 x 630


Profile photo: 110 x 110
Shared image: 1,080 x 1,080
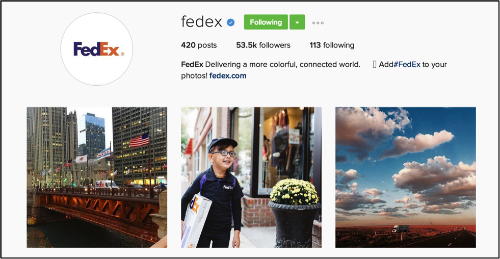
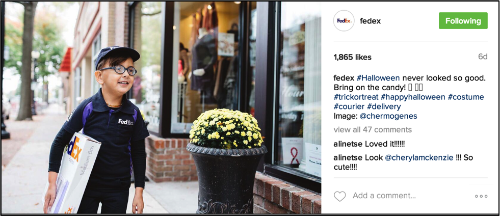
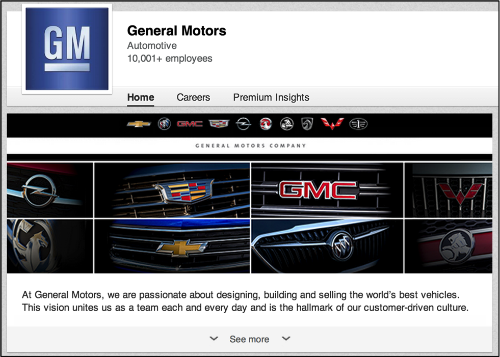
Profile photo: 400 x 400
Background image: 1400 x 425
Shared image: 700 x 400
Company cover photo: 1536 x 768

Profile image: 400 x 400
Header image: 1,500 x 500
Shared image: 1,024 x 512 (maximum to appear expanded)
Profile image: 165 x 165
Board covers: 217 x 146
Shared image: 735 x 1,102
Google+
Profile photo: 250 x 250
Cover photo: 1080 x 608
Shared image: 497 x 373 (displays as this size)
Shared link: 150 x 150

Sizing & Editing Tools
Landscape
Landscape from SproutSocial aims to streamline the photo resizing process for each social network. It’s pretty simple. You upload your photo, select the social network you want to size it for and then crop.

Pixlr
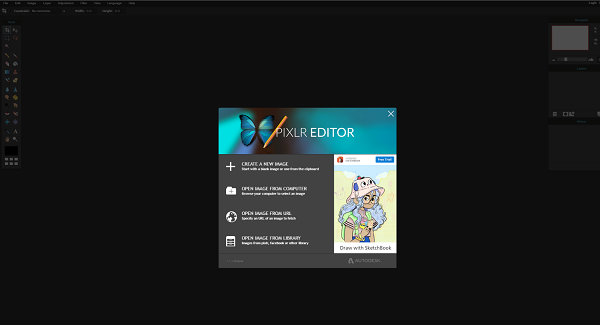
If you’re looking for a wide ranging editing tool that will also allow you to custom size and image, Pixlr is a good option. In my opinion, using this tool is easiest if you have a little photo editing experience, but nonetheless still an option if you’re willing to take a little time to feel it out. Also, there is a mobile version, too, which makes it a convenient option.
Other simple sizing tools include:
Creation Tools
Canva
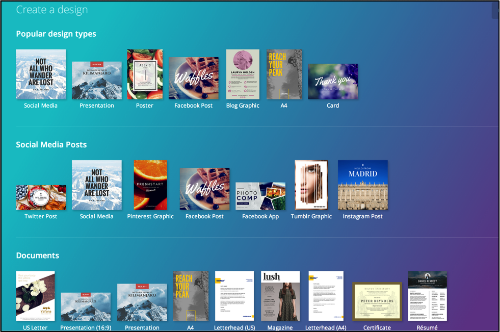
For those without Photoshop or InDesign chops, Canva is a fantastic tool for helping you create professional and compelling images. Not only is it easy to use, but it also offers different templates for Facebook, Instagram and Twitter, as well as many other options.
Adobe Spark
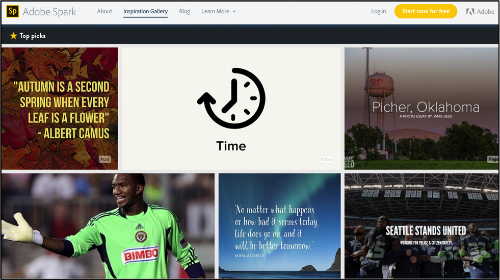
Adobe Creative Cloud Express, formerly Adobe post, is another easy to use tool that allows you to create graphics quickly. One feature that I personally like is the Inspiration Gallery, allowing you to select a category and get ideas for creating your own image.
Stencil
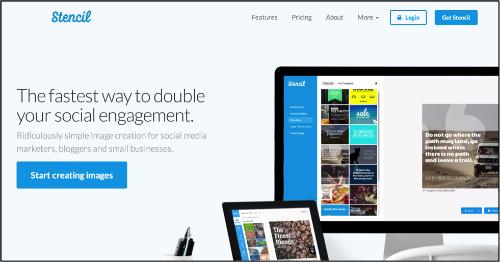
Stencil, formerly known as Share Image As, is a tool designed specifically for creating images to boost social media engagement, offering more than 30 custom sizes to fit different social network guidelines, as well as templates, and thousands of graphics, photos and icons to use. There’s also a Chrome extension that makes it easy to create images on the go. There is a free version, but the Unlimited version that includes all the pro features is just $18 a month.
Other creation and design tools include:
When Things Change
Like everything in the digital marketing world, these best practices are likely to evolve and tools will come and go. We’ll continue to update this page to give you the latest guidelines and tools.
What is your go-to image resizing, editing or creation tool? Tell us in the comments section below.


